A good method to maintain your network safe and customized
is to change your WiFi name and password. The procedure is easy if you finish
the Linksys Velop login and are
running a Linksys Velop system. This article will show you how to get into your
router using Linksyssmartwifi.com or Myrouter.local, change your WiFi
credentials, and keep your network secure. This blog will clarify the procedure
whether you are a seasoned user or a tech beginner.
Why Change Your Password and WiFi Name?
Let's first consider why changing your WiFi name (SSID) and password is important before we get into the Linksys Velop login procedure. Default WiFi names frequently expose the router manufacturer, which helps hackers focus on your network. A unique SSID increases secrecy. A strong password also stops unwanted access, hence safeguarding your devices and data. Consistently changing these passwords is a quick yet powerful approach to preserve network security.
Getting ready for Linksys Velop Login
Changing your WiFi settings will require you to visit your Linksys Velop's admin panel. A web browser, a device linked to the Velop network, and your router's login information are all needed for this. Check the router's manual or the Linksys website for the default username and password—usually "admin" for both—if you have not modified the default credentials. Collect this data first.
First step: Link to Your Linksys Velop Network
Whether over WiFi or an Ethernet wire, make sure your computer or mobile device is linked to the Linksys Velop network. Accessing the settings of the router without interruptions depends on a consistent connection. Check your device’s WiFi settings to verify the network name corresponds with your Velop if you are uncertain about your connection.
Step Two: Go to the Linksys Velop Setup Login Page
Launch a web browser such as Chrome, Firefox, or Safari.
Type one of the following in the address bar:
- Linksyssmartwifi.com
- Myrouter.local
- Most Linksys routers' default IP address is 192.168.1.1.
Hit Enter. If the page fails to load, verify the URL for errors or use the IP
address. These addresses take you to the Linksys Velop login page, where you
may control your router's configuration. Should problems arise, make sure your
device is on the same network as the router and turn off any browser extensions
or VPNs that could affect things.
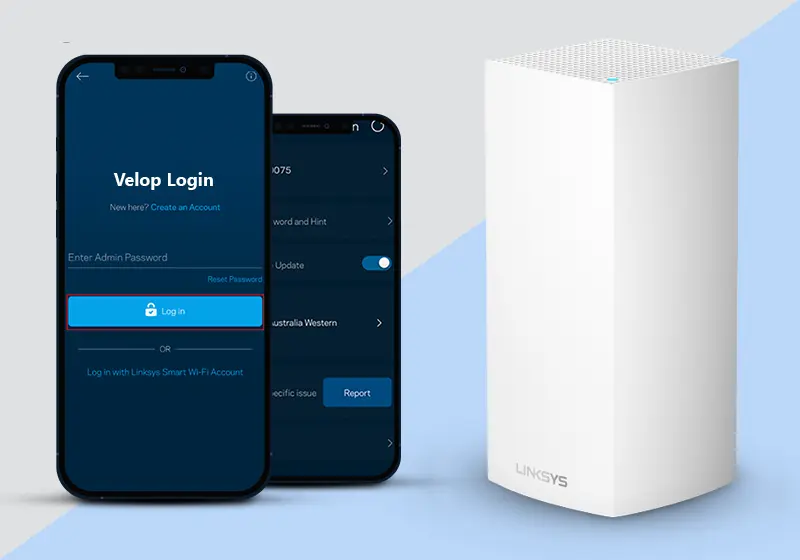
Step Three: Access Your Linksys Velop Setup Login Page
When the login page appears, type in your router's admin
username and password. If you have created a Linksys Smart WiFi account, you
may use those credentials in place of others. Press "Log In" or
"Sign In." If the credentials fail, either use the default settings
or reset the router by holding down the reset button for ten seconds; doing so
will destroy all custom settings.
Altering Your WiFi Name and Password
Following a successful Linksys Velop login, you will get at the dashboard of the router. Your WiFi name and password can be updated as follows:
Step 4: Go to Wireless Settings
On the dashboard, search for a menu item like "Wireless," "WiFi Settings," or "Wireless Network." Depending on your Velop model or firmware version, the precise language may differ. If your router supports dual-band, click this option to access the settings for your 2.4GHz and 5GHz bands.
Step 5: Change the WiFi Name
Look for the box marked "Network Name" or "SSID." Your WiFi name is this. Change the current name to a new one that is different and does not disclose personal information (e.g., avoid names like "SmithFamilyWiFi"). Your Velop may require different names for the 2.4GHz and 5GHz networks or the same name for both if Smart Connect is activated depending on its compatibility for several bands.
Step Six: Create a New WiFi Password
Find the field for "Password," "Passphrase," or "Security Key." For greatest security, use letters, numbers, and symbols to create a strong password at least twelve characters long. Steer clear of easily guessable data like birthdays and frequent sayings. If necessary, validate the password in the given area.
Step Seven: Keep Your Modifications
Click "Save," "Apply," or "OK"
after changing the SSID and password. Your devices might momentarily disconnect
from the network and the router could take a few seconds to execute the
modifications. Use the new WiFi name and password to reconnect your devices.
Resolving Common Problems
If you are unable to reach Myrouter.local
or Linksyssmartwifi.com, consider these solutions:
- Your device must be on the Velop network to check connectivity.
- Remove Browser Cache: Data stored in cache could create loading problems.
Delete it and try once more.
- Use the IP Address: Should the URLs fail, try 192.168.1.1.
- Turn off Firewall/VPN: These can prevent access to the login page of the
router.
- If your devices do not reconnect following settings modification, choose the
new WiFi name and input the password on every device. Forgetting the network on
your device and reconnecting can also fix connection problems.
WiFi Security Best Practices
- Apart than renaming your WiFi and changing your password,
think about these suggestions to strengthen the security of your network:
- Select WPA3 in the wireless settings for greater encryption if your Velop
supports it.
- Check for firmware upgrades on the router's dashboard to fix flaws.
- Turn off WiFi Protected Setup since hackers may abuse it. Switch it off in
the options.
Change your WiFi password every six to twelve months.
Final Thoughts
A fast approach to increase the security of your Linksys Velop login and personalize your network is to change your WiFi name and password. Updating your settings in only a few minutes is simple by means of Linksyssmartwifi.com or Myrouter.local. Following the instructions above will help you to quickly have a safe, customized WiFi network. Should problems arise, use the supplied advice or visit the Linksys support page for model-specific advice. Enjoy smooth connectivity and keep your network safe!